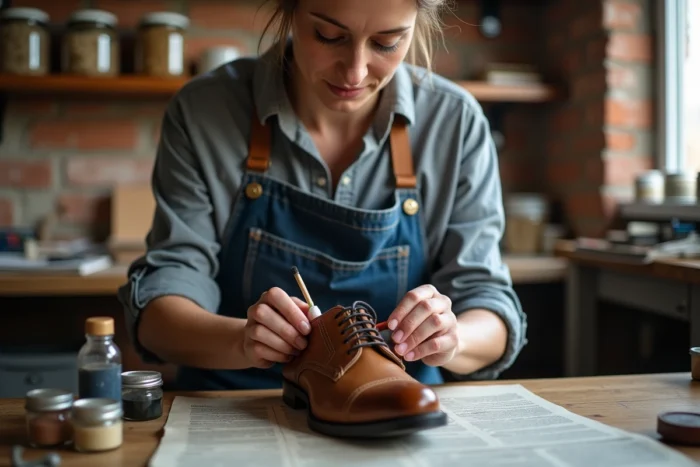
You have retrieved a slightly worn pair of derby shoes, the color has faded, and you think that a pot of dye will solve the problem in an hour. The action seems simple. But between leather that poorly absorbs the product, an overly aggressive stripping, or a color that turns, there are many opportunities to permanently ruin a pair.
Understanding where the real traps lie allows you to avoid turning a rescue operation into a death sentence for your shoes.
The stripping solvent, the main culprit of irreversible damage to leather
The majority of tutorials start with the same instruction: strip the surface before dyeing. The problem does not come from the step itself, but from the product chosen to carry it out.
Renovation workshops specializing in high heels and wedding shoes report that the most frequent irreversible damage comes from the stripping solvent. Pure acetone or household removers burn the finishing film of the leather. The visual result may seem correct right after the operation, but the leather dries out and becomes brittle at the folds in the following months.
Why is this trap so common? Because acetone is available everywhere, costs little, and gives the impression of working well: the surface cleans quickly, the original color disappears. Except that the stripper has also attacked the structure of the leather deeply. A stripper formulated for leather (sold at specialized leather goods suppliers) dissolves the finishing layers without damaging the fiber. The price difference is modest, but it conditions the entire subsequent work.
Before you start, know that the mistakes at this stage are documented in detail: several feedback experiences show how dyeing leather shoes at home without the right stripper leads to disappointing, even irreparable results.
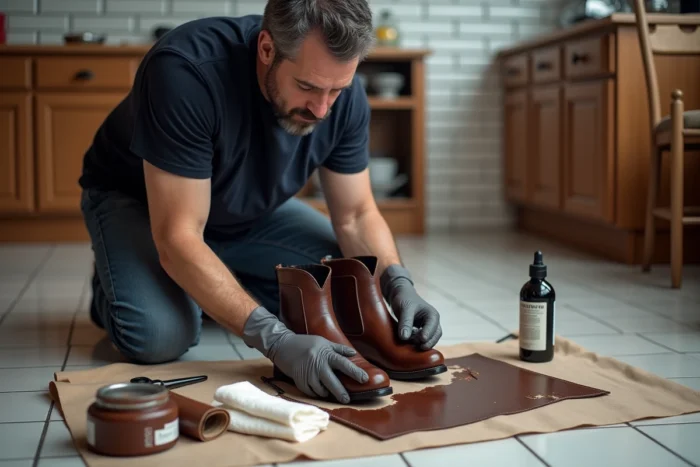
Dyeing on protected leather: why the color doesn’t hold on sneakers
You may have noticed that dye applied to a white sneaker peels off in a few days, while it holds on an old pair of oxfords? The reason is technical and rarely explained in consumer guides.
Modern sneakers and many recent dress shoes are coated with a factory varnish, a polyurethane top-coat. This transparent film protects the leather, but it also prevents any dye from penetrating. Applying color over it is like painting on plastic: it covers, then it peels off.
Without fine sanding beforehand, the dye slides and peels off on factory-varnished leathers. Several custom sneaker workshops confirm that, on smooth white sneakers, the failure rate is high if this step is ignored. Sanding (fine grain, around 800) mechanically breaks the varnish so that the product can adhere. It is not about sanding the leather itself, but only its protective layer.
How to identify protected leather before starting
Drop a bead of water on a discreet area of the shoe. If the bead stays on the surface and beads up, the leather is protected by a film. If it is absorbed within a few seconds, the leather is more open and will accept direct dyeing better.
This test takes ten seconds and saves you from discovering the problem after applying two layers of dye on an impermeable surface.
Choosing the color and number of layers: dosage errors
Dyeing brown leather black generally works well. Dyeing black leather light brown is a whole different matter. Going from a dark shade to a lighter shade is nearly impossible without very aggressive stripping that weakens the leather.
The practical rule is simple:
- Darkening an existing color (beige to brown, brown to black) gives predictable results, even for a beginner
- Changing color families (brown to blue, for example) requires complete stripping and a base dye, with a risk of uneven results
- Lightening a dark shade requires professional products and several applications, with no guarantee of a uniform result
The number of layers also matters. Two thin layers are better than one thick layer. A layer that is too thick creates a rigid film that cracks when the foot bends. Let it dry completely between each application. If the leather still feels slightly sticky to the touch, the next layer will not adhere well and will cause streaks.
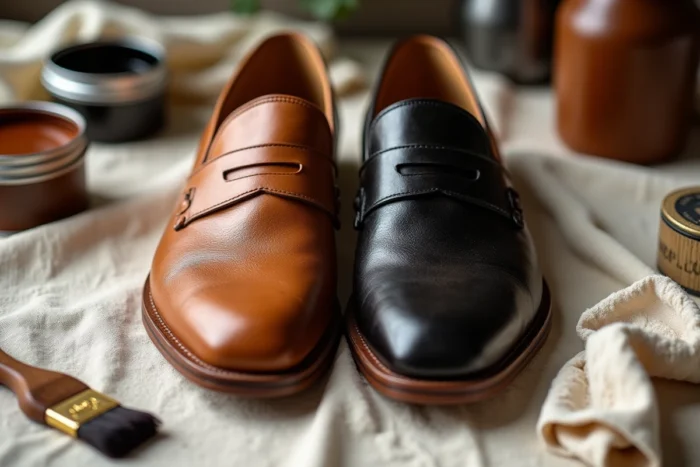
Fixing a failed dye job: what professionals do and the limits of correction
Let’s assume the result does not look like what you expected: uneven color, visible brush strokes, peeling areas. How far can you go back?
On full-grain smooth leather
This is the most favorable case. A professional can re-strip the surface with an appropriate solvent, rehydrate the leather with a care oil, and then start dyeing from scratch. Full-grain leather has a dense enough structure to withstand several cycles of stripping and dyeing, within reasonable limits.
On grained leather or nubuck
The situation becomes more complicated. Nubuck and suede absorb dye deeply in an irreversible manner. The product penetrates the open fibers of the leather and cannot be removed by simple surface stripping. A professional can lighten an overly intense color by working with lightening products, but returning to the original color is out of the question.
When the leather is already damaged by poor stripping
If acetone or an aggressive solvent has dried out the leather, the fiber is weakened. Even a specialized workshop cannot reverse this structural degradation. The leather will poorly accept a new dye, and the folding areas (vamp, quarters) are likely to crack. At this stage, the professional may suggest a pigmented covering (an opaque paint rather than a dye), but the touch and natural patina of the leather are lost.
- Smooth full-grain leather: correction possible with re-stripping and re-dyeing
- Nubuck, suede, reversed leather: dye is absorbed permanently, very limited correction
- Dried leather from an aggressive solvent: the structure is compromised, only an opaque covering remains feasible
The type of leather therefore conditions not only the result of the dyeing but also your ability to correct a mistake. Identifying the type of leather before any operation is the most cost-effective precaution. The water drop test mentioned above, combined with a visual examination of the surface (grain, shine, velvety appearance), is sufficient in most cases to guide the method.
Dyeing leather shoes forgives certain clumsiness, but not all. A poor solvent, un-sanded protected leather, or an overly ambitious color change turn a reversible operation into permanent damage. It is better to test on a hidden area, use products formulated for leather, and accept the limits of the material before diving in.